Audience: Creators Status: User Guide
Welcome to Third Coast TV. This guide walks you through your first day: creating your organization, publishing your first show, and learning where everything lives in the dashboard.
What Third Coast TV gives you
Third Coast TV is a home for your video. You upload pre-recorded episodes or go live, organize them into shows, and decide who can watch. You can keep everything free, charge a subscription, sell individual episodes, or mix all three. Your audience watches on your own show page, comments, and can message you directly.
The platform is organized around three ideas:
- Organization. Your account and billing live here. One organization can run several shows and invite teammates.
- Show. A show is a collection of episodes with its own page and web address. Most creators run one show; you can run more.
- Episode. A single video, either uploaded ahead of time or streamed live and saved afterward.
Creating your account and organization
When you sign up, you create three things at once: your user account, your organization, and your first plan.
- Choose a username, email, and password.
- Name your organization. This is usually your channel, studio, or brand name.
- Pick a plan. You can start on the Free plan and upgrade at any time. See the Pricing page for what each plan includes.
- If you chose a paid plan, you are taken to checkout to enter payment details. Free plans go straight to the dashboard.
You can start using the dashboard right away. We send a verification email in the background. Browsing and setup stay open before you verify, but a few sensitive actions (going live, requesting a payout, and connecting payments) ask you to confirm your email first. If the email does not arrive, open Settings → Account to resend it.
Creating your first show
If you did not create a show during signup, make one now.
- In the sidebar, open Content → Shows.
- Select New show.
- Give it a title and description. The title becomes part of your show’s web address.
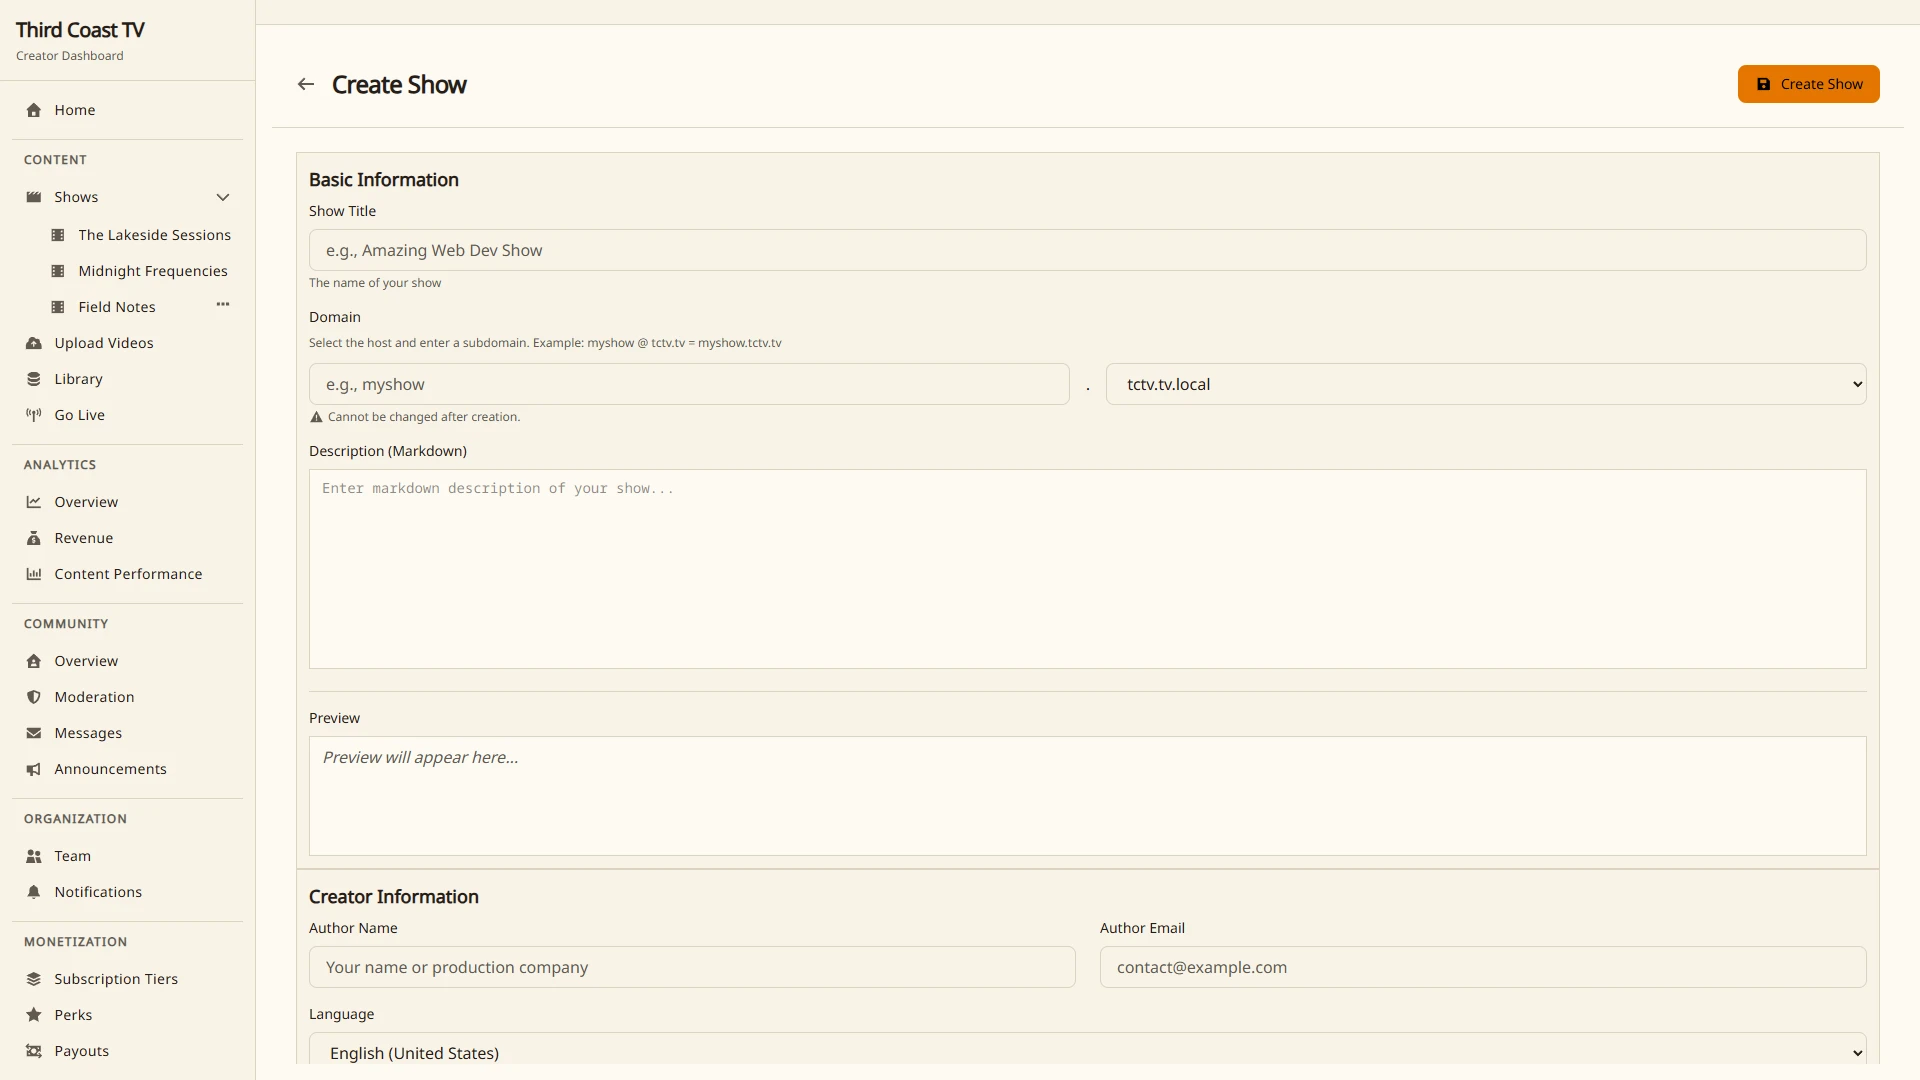
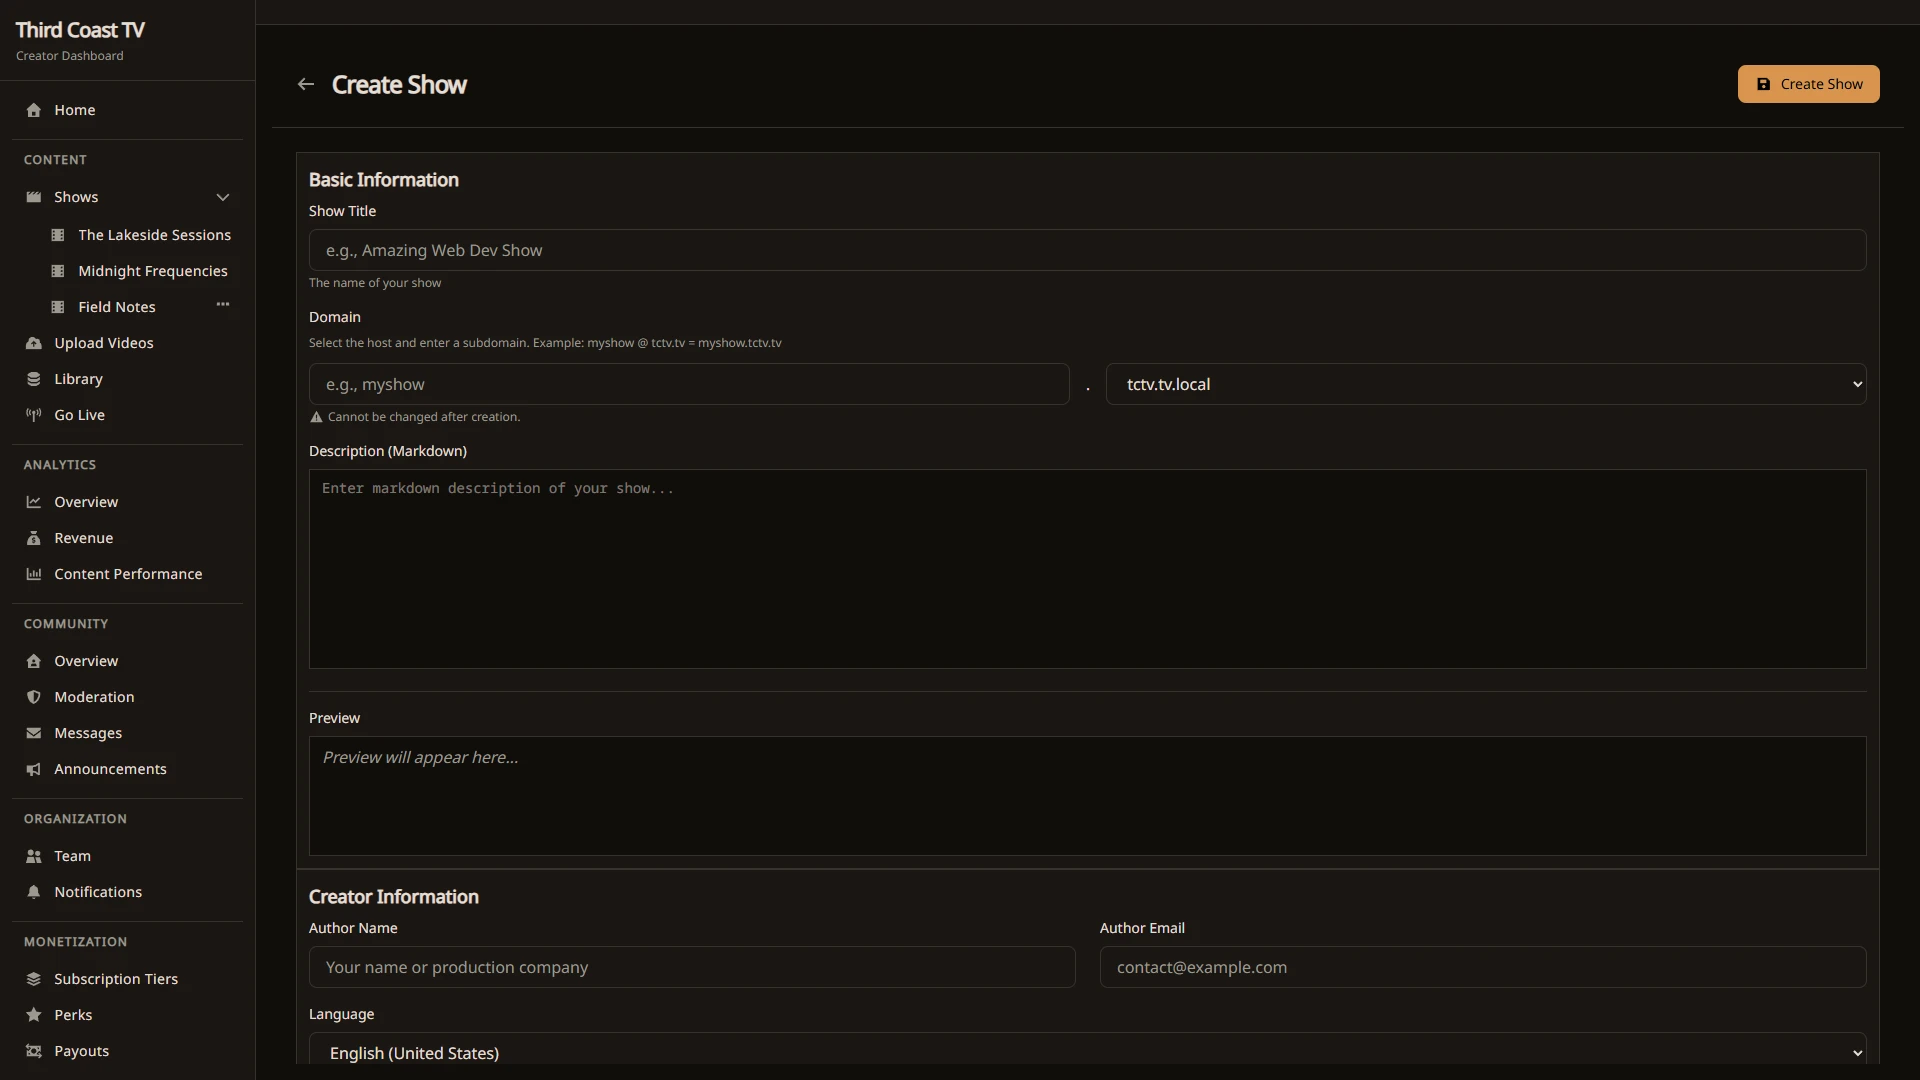
Each show gets its own address, for example yourshow.thirdcoast.tv. The address is generated from your title: lowercase letters, numbers, and dashes, up to 40 characters. If the name is taken, a number is added to keep it unique. Later you can attach a custom domain of your own (see the Pricing page for which plans include custom domains).
Choosing how your show is organized
In your show’s settings you pick a content organization style that shapes the show page:
- Seasons. Episodes are grouped into numbered seasons. Best for serialized shows.
- Absolute. A single ongoing list numbered straight through. Best for a continuous catalog.
- Events. Organized around dated events. Best for live-first programming.
You can also set a theme (light, dark, or automatic), a preset look, and color overrides under Layout & Theme for the show.
Adding your first episode
You have two ways to get video onto a show.
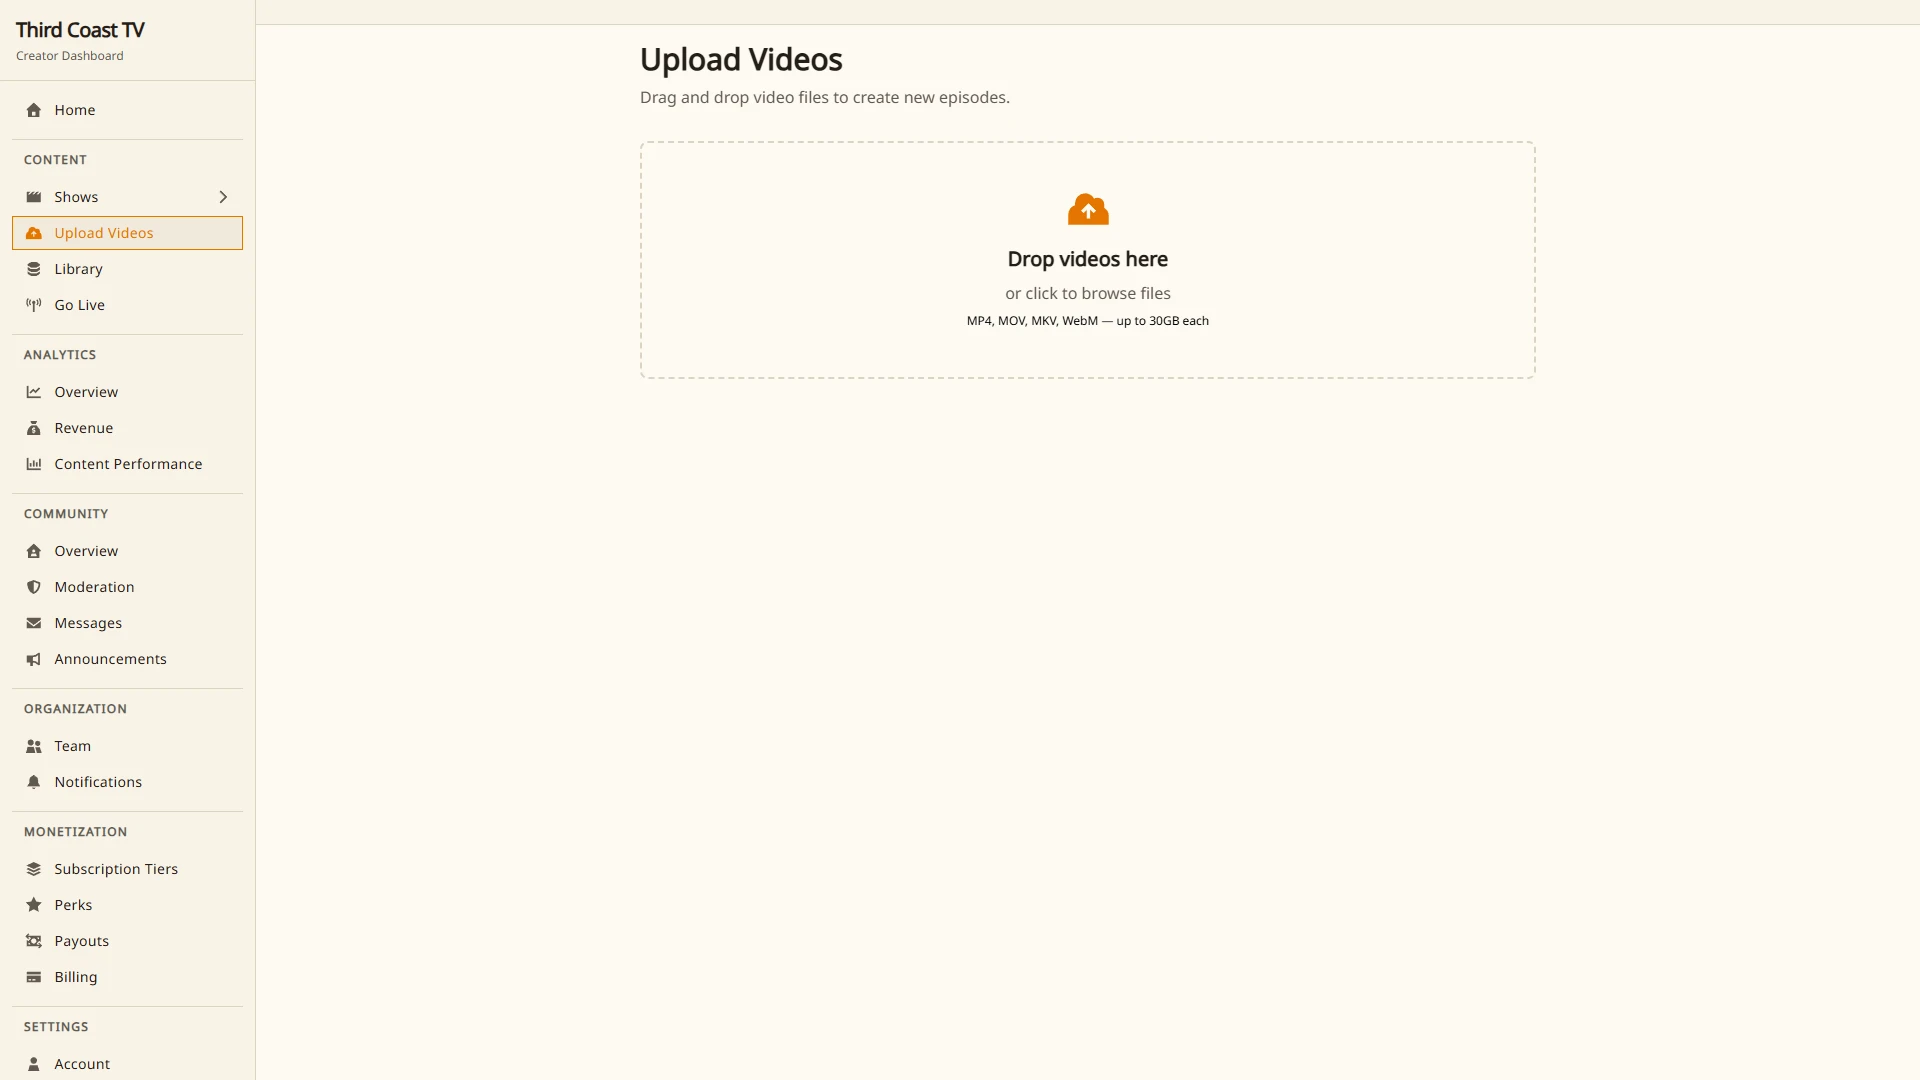
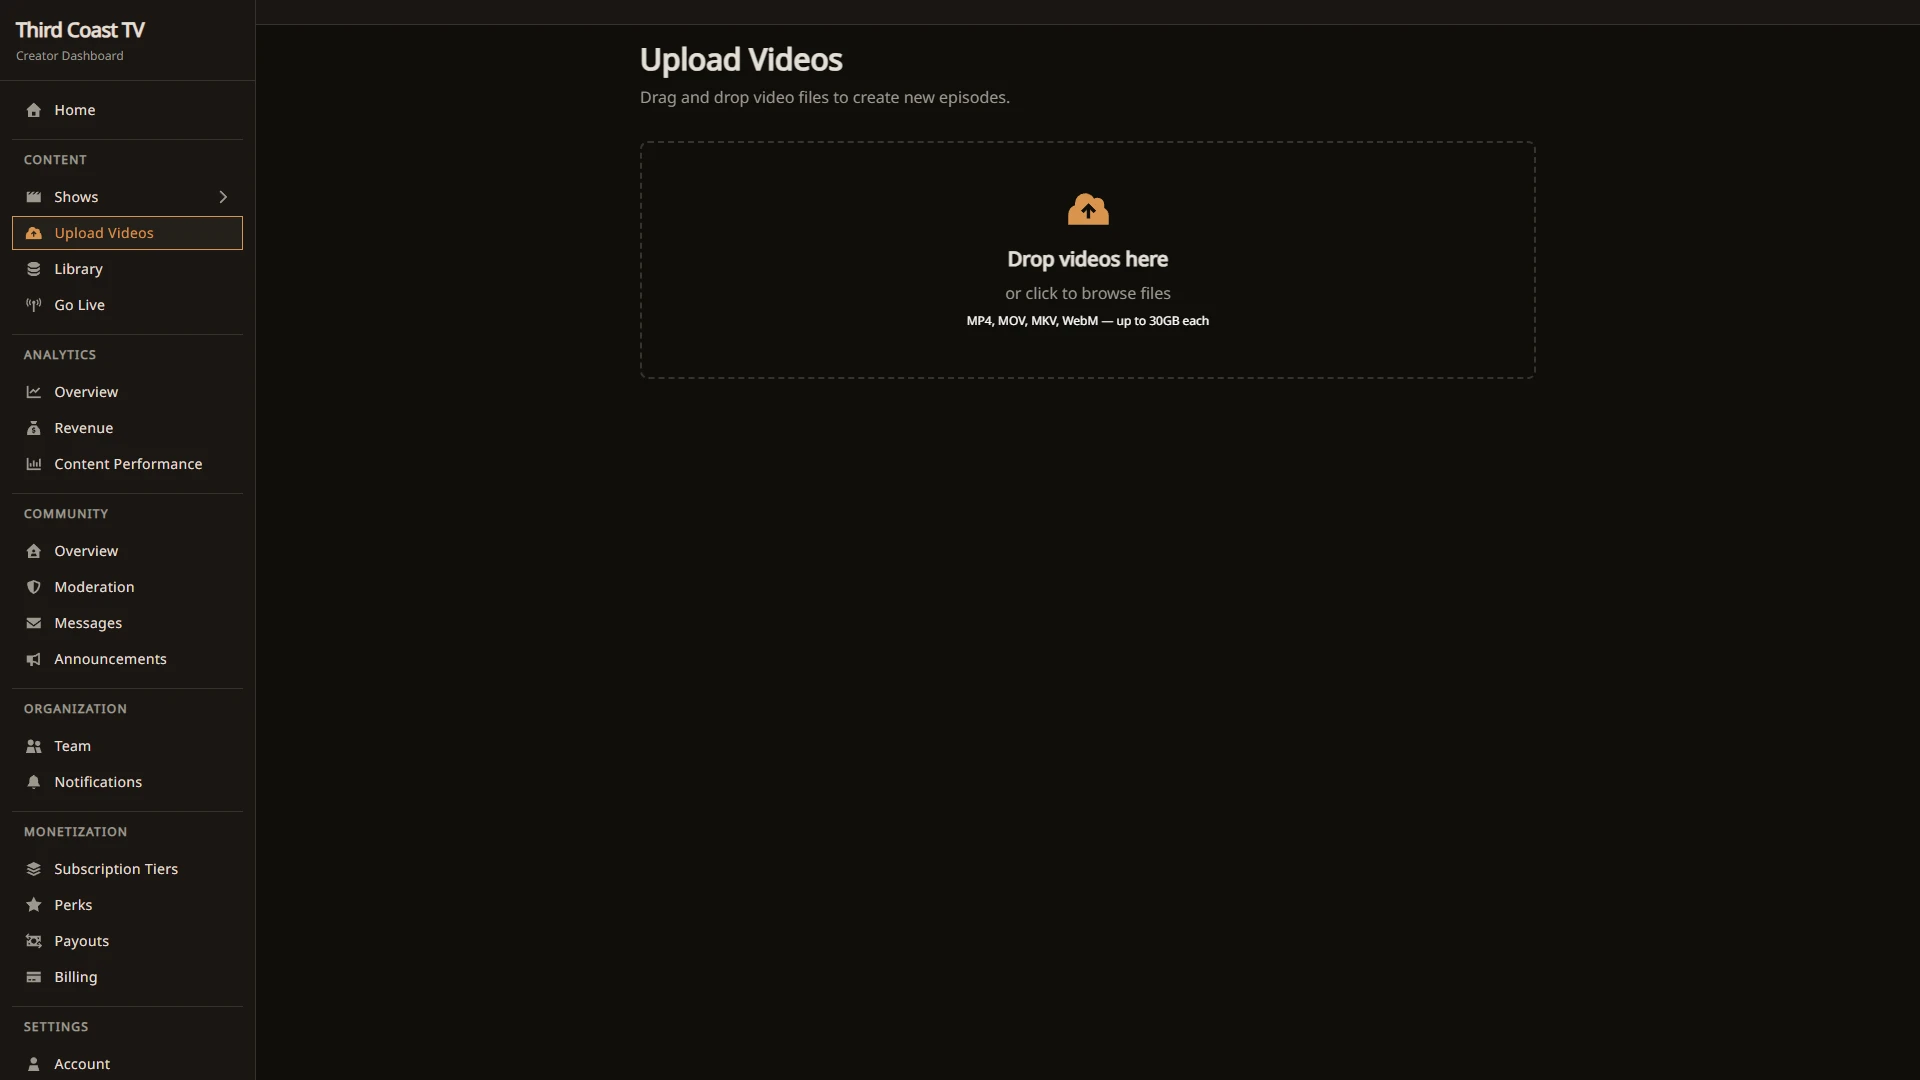
- Upload a pre-recorded video. Open Content → Upload Videos, choose the show, and upload your file. The video uploads straight to our video platform and is processed into streaming quality automatically. See Uploading and Managing Video for the full walkthrough.
- Go live. Open Content → Go Live to stream from OBS or similar software. Your broadcast is recorded and becomes an episode when you finish. See Live Streaming for setup.
New episodes start as drafts, which means only you can see them. When an episode is ready, publish it to make it visible according to its access settings.
Deciding who can watch
Every episode has one or more access modes. You set these per episode:
| Mode | Who can watch |
|---|---|
| Public | Anyone. Shown in your show’s listings. |
| Unlisted | Anyone with the direct link. Hidden from listings. |
| Subscriber | Active subscribers to your organization. |
| Tier-gated | Subscribers on specific tiers you choose. |
| Perk-gated | Viewers who hold specific perks. |
| Purchase | A one-time purchase. Can be permanent or a timed rental. |
| Purchase or subscriber | Either a purchase or an active subscription unlocks it. |
To charge for access you set up subscription tiers and perks under Monetization, and connect payouts so you can be paid. See Pricing Your Content and Payouts.
Finding your way around the dashboard
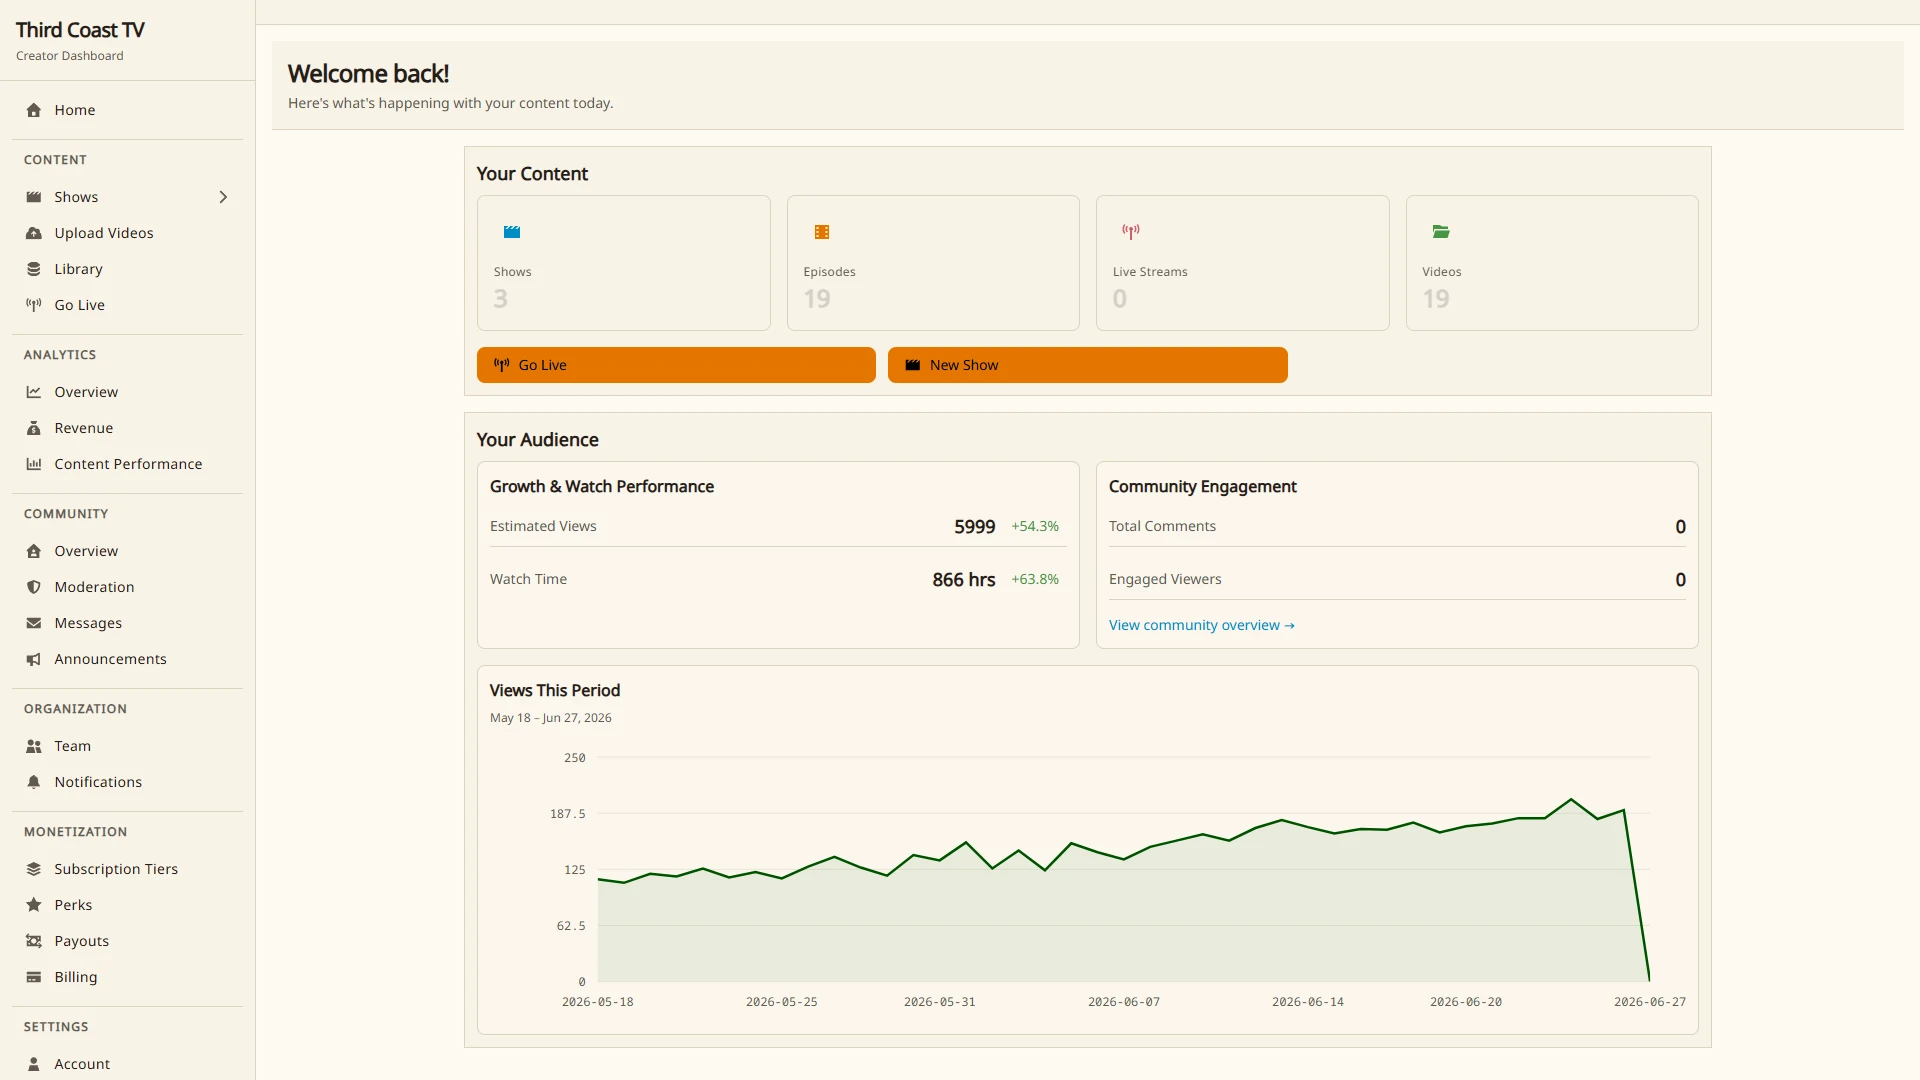
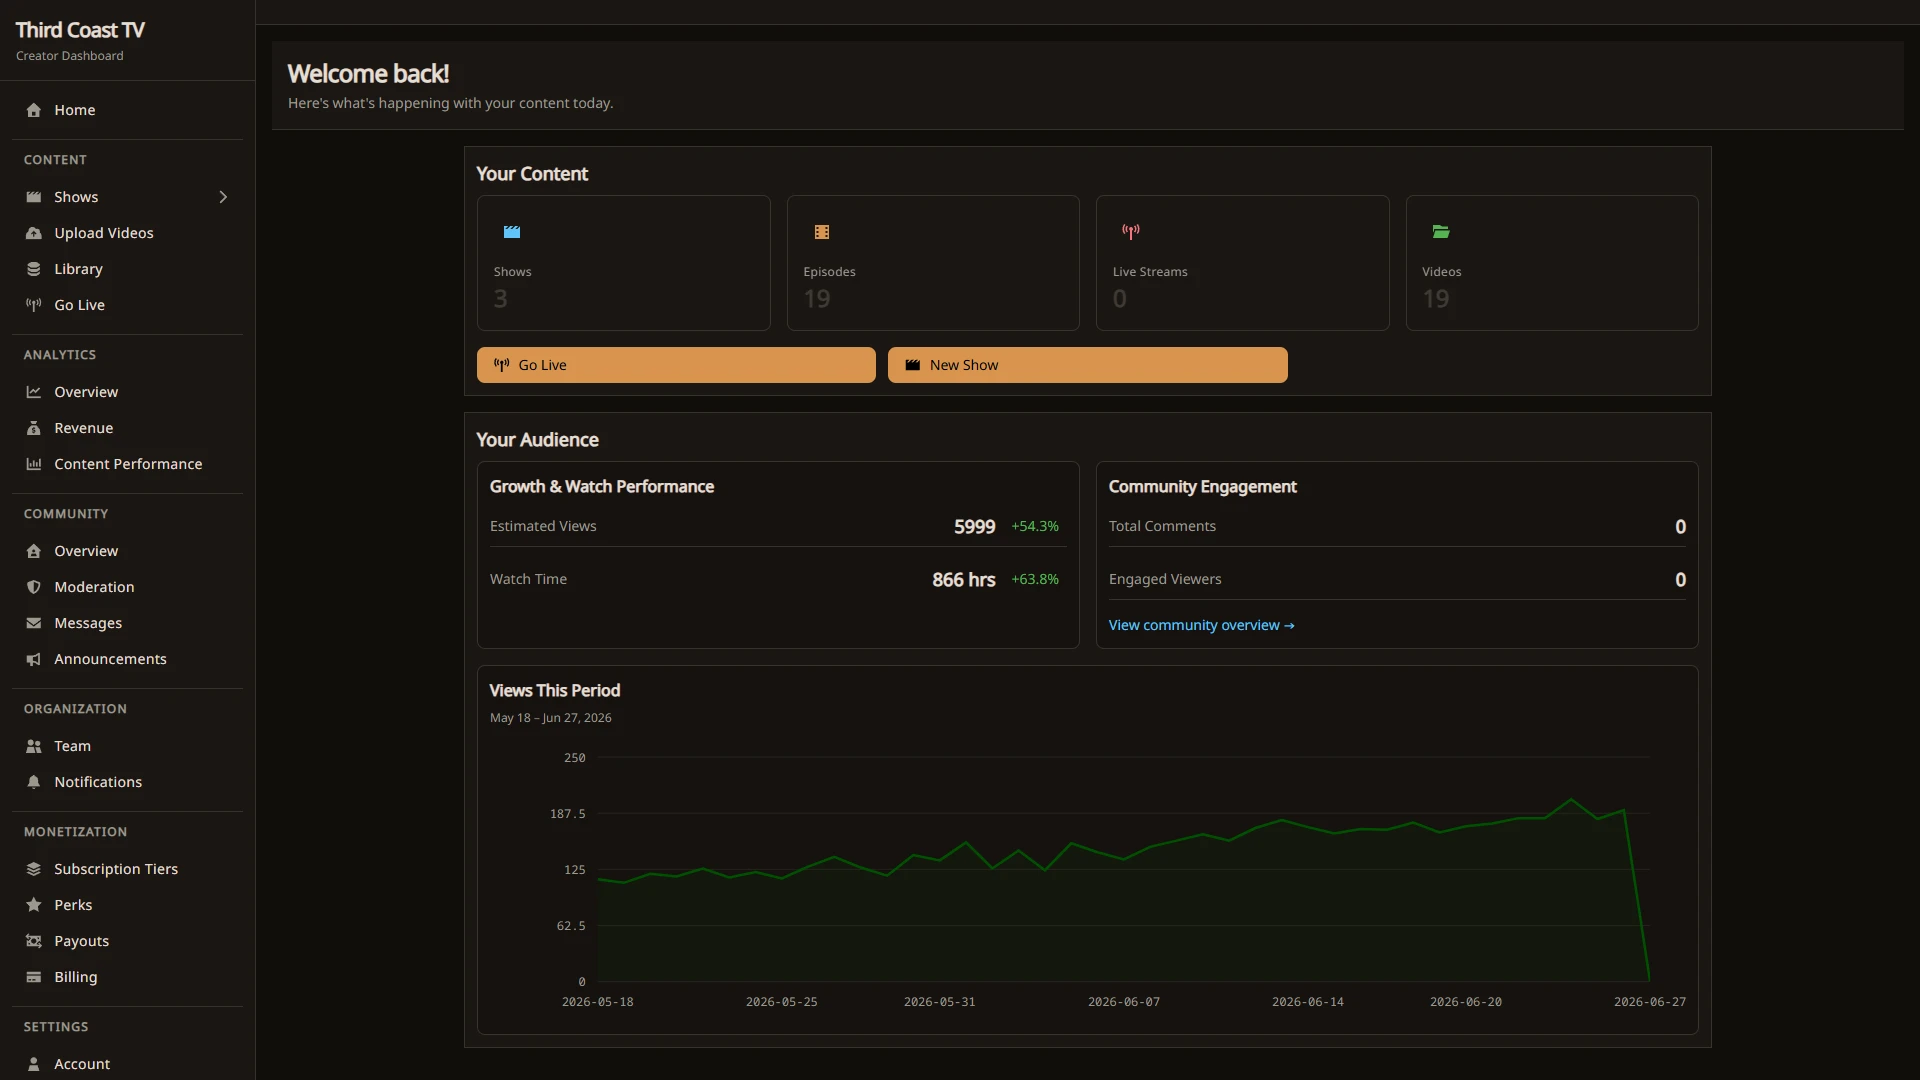
The left sidebar groups everything by what you are trying to do:
- Home. Your dashboard overview.
- Content. Shows, Upload Videos, Library (all your video files), and Go Live.
- Analytics. Overview, Revenue, and Content Performance.
- Community. Overview, Moderation, Messages, and Announcements.
- Organization. Team members and Notifications.
- Monetization. Subscription Tiers, Perks, Payouts, and Billing.
- Settings. Account, Privacy, API Keys, and Integrations.
- Help & Support. Documentation, Support tickets, and platform Status.
Getting paid
If you plan to earn from your content, set up payouts early so funds can reach you:
- Open Monetization → Payouts.
- Connect your payout account and complete the identity steps.
- Create at least one subscription tier under Monetization → Subscription Tiers, or set a purchase price on an episode.
Connecting payouts asks you to confirm your email first. Until payouts are connected, the dashboard shows a reminder at the top of the page.
A suggested first-week checklist
- Create your organization and first show.
- Confirm your email from Settings → Account.
- Upload one episode or run a test live stream.
- Set the episode’s access mode and publish it.
- Visit your show page and watch it back.
- If you are monetizing, connect payouts and create a subscription tier.