Audience: Creators Status: User Guide
Live streaming lets you broadcast in real time to your audience. You stream from software like OBS, Streamlabs, or vMix, and when you finish, the broadcast is recorded and becomes an episode automatically.
How live streaming works here
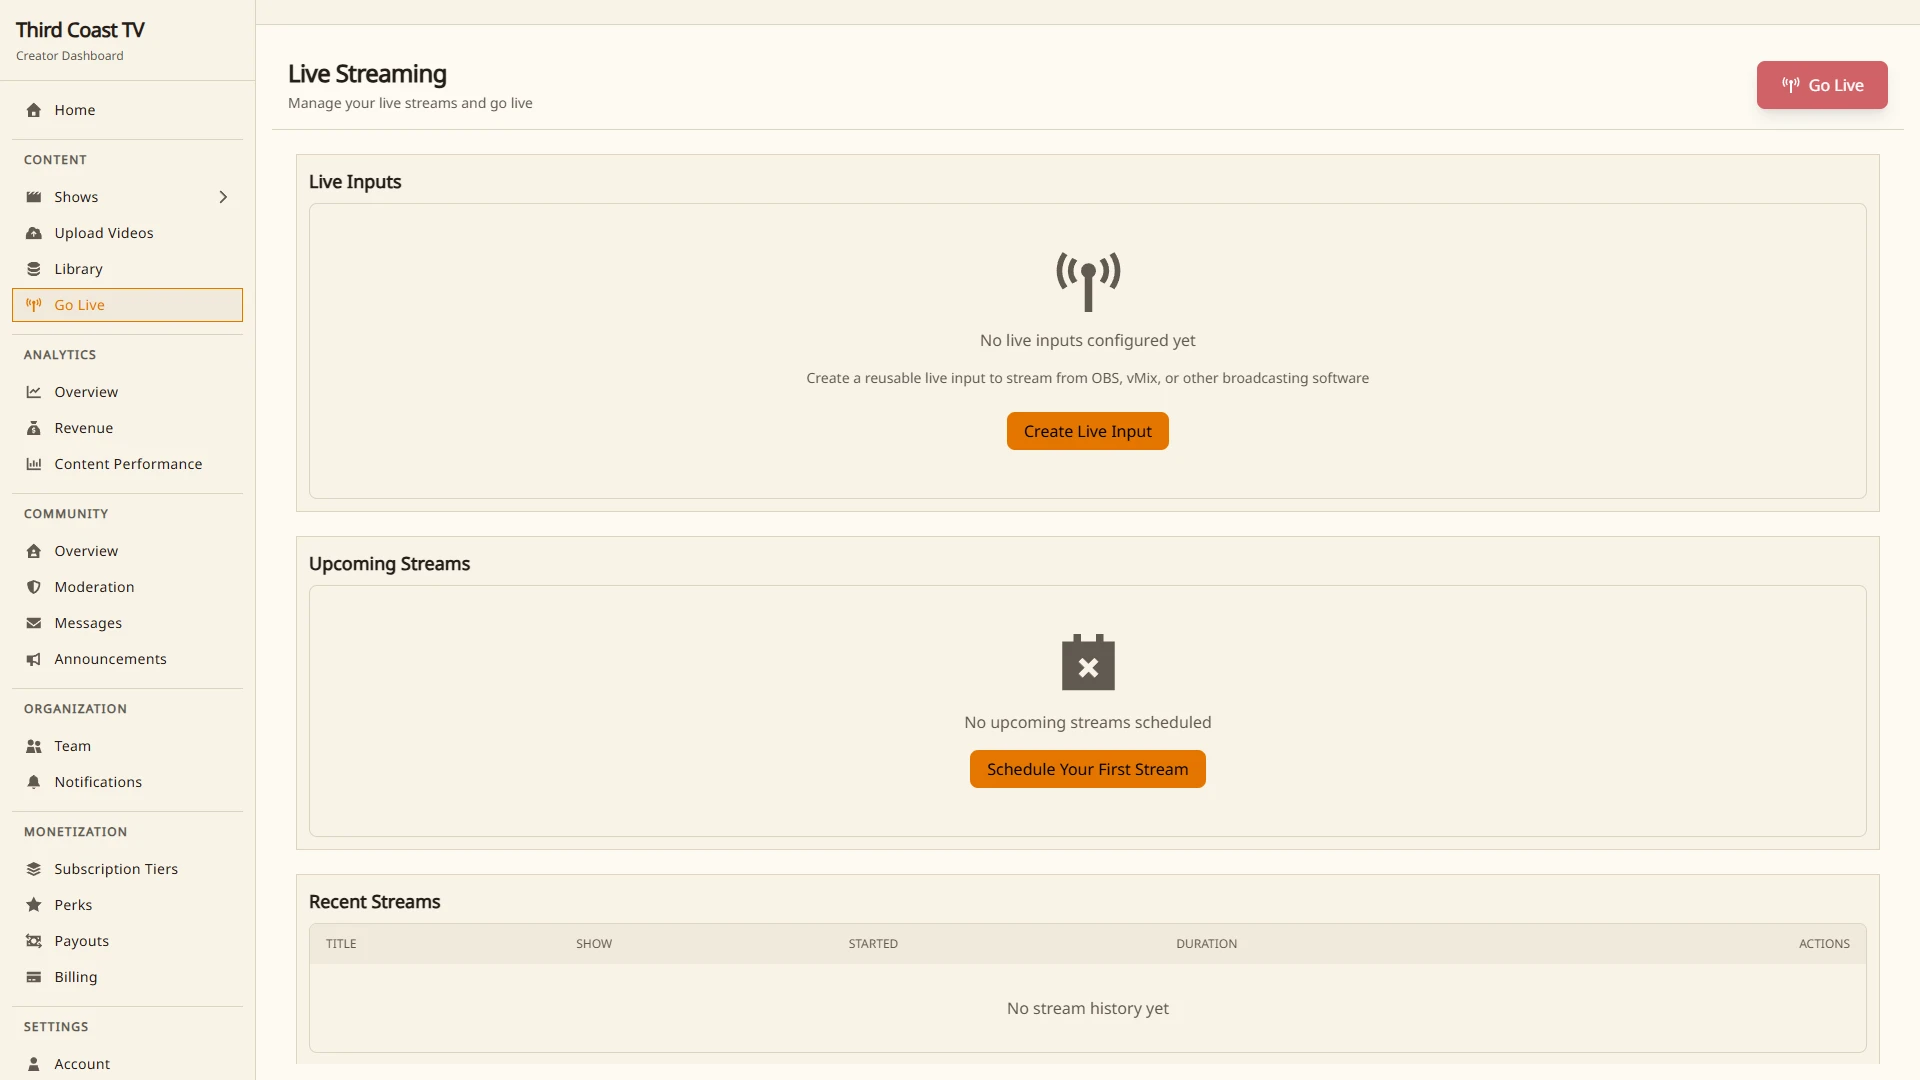
Your organization has a reusable live input. Think of it as your stage: it has a server address and a stream key that stay the same every time you go live. You set up your streaming software once and reuse the same connection for every broadcast.
Most plans include one live input and let you run one broadcast at a time. Higher plans add more live inputs and allow more simultaneous streams. See the Pricing page for the exact numbers on each plan.
Getting your stream credentials
- Open Content → Go Live in the sidebar.
- Open your live input, then the Credentials view.
- Copy the server URL and stream key into your streaming software.
Your live input supports RTMPS (recommended), and depending on your setup it can also offer SRT and WebRTC for browser-based streaming. RTMPS works with virtually all streaming software.
Keep your stream key private. Anyone who has it can broadcast to your channel. If it is ever exposed, regenerate it from the Credentials view.
Setting up OBS
In OBS, open Settings → Stream and choose:
- Service: Custom
- Server: the RTMPS server URL from your dashboard
- Stream Key: the stream key from your dashboard
Recommended encoder settings
These are good starting points. Adjust to your upload speed and the kind of content you stream.
| Setting | Recommended |
|---|---|
| Encoder | Hardware (NVENC, AMF, or Apple VT) if available, otherwise x264 |
| Rate control | CBR (constant bitrate) |
| Bitrate | About 6,000 kbps for 1080p, about 3,500 kbps for 720p |
| Keyframe interval | 2 seconds |
| Audio | AAC, 128 kbps, 48 kHz |
A wired connection is more reliable than Wi-Fi, and your upload speed should comfortably exceed your chosen bitrate. If you see dropped frames, lower the bitrate or resolution.
Going live
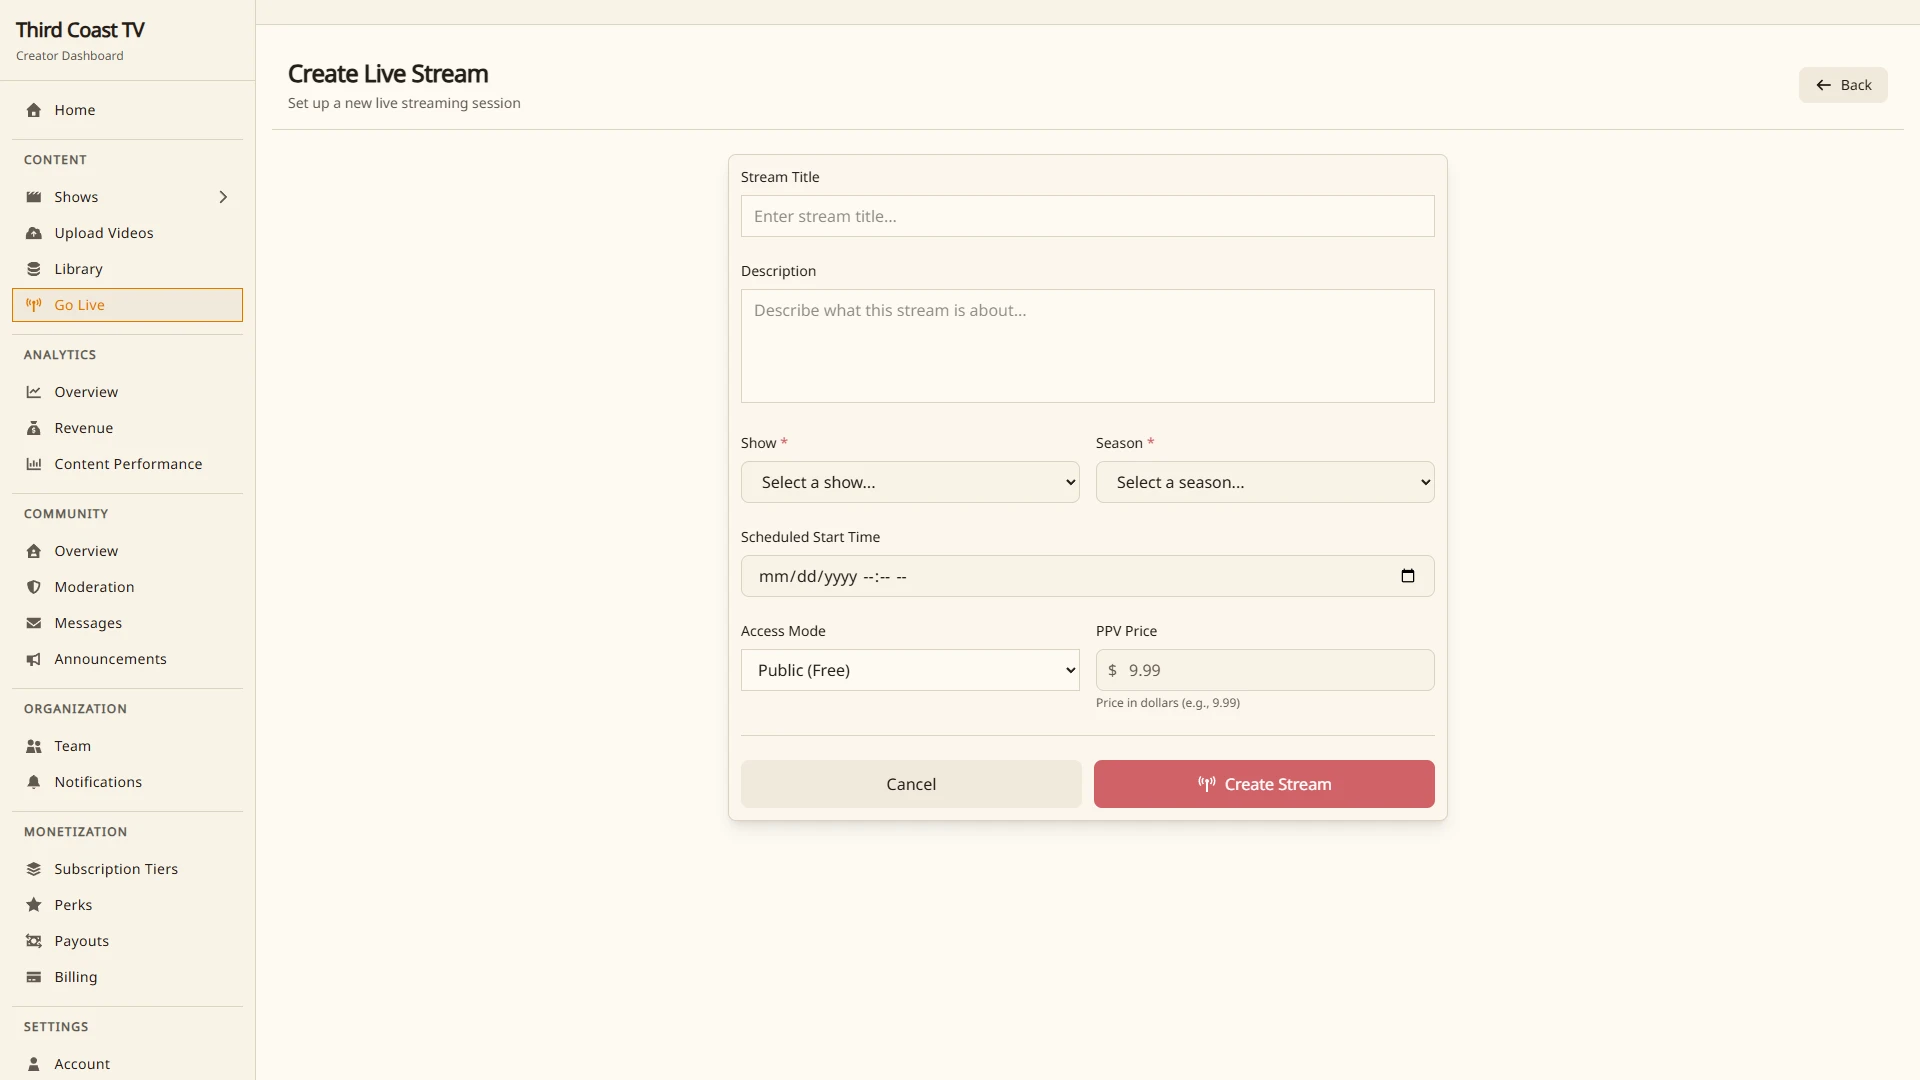
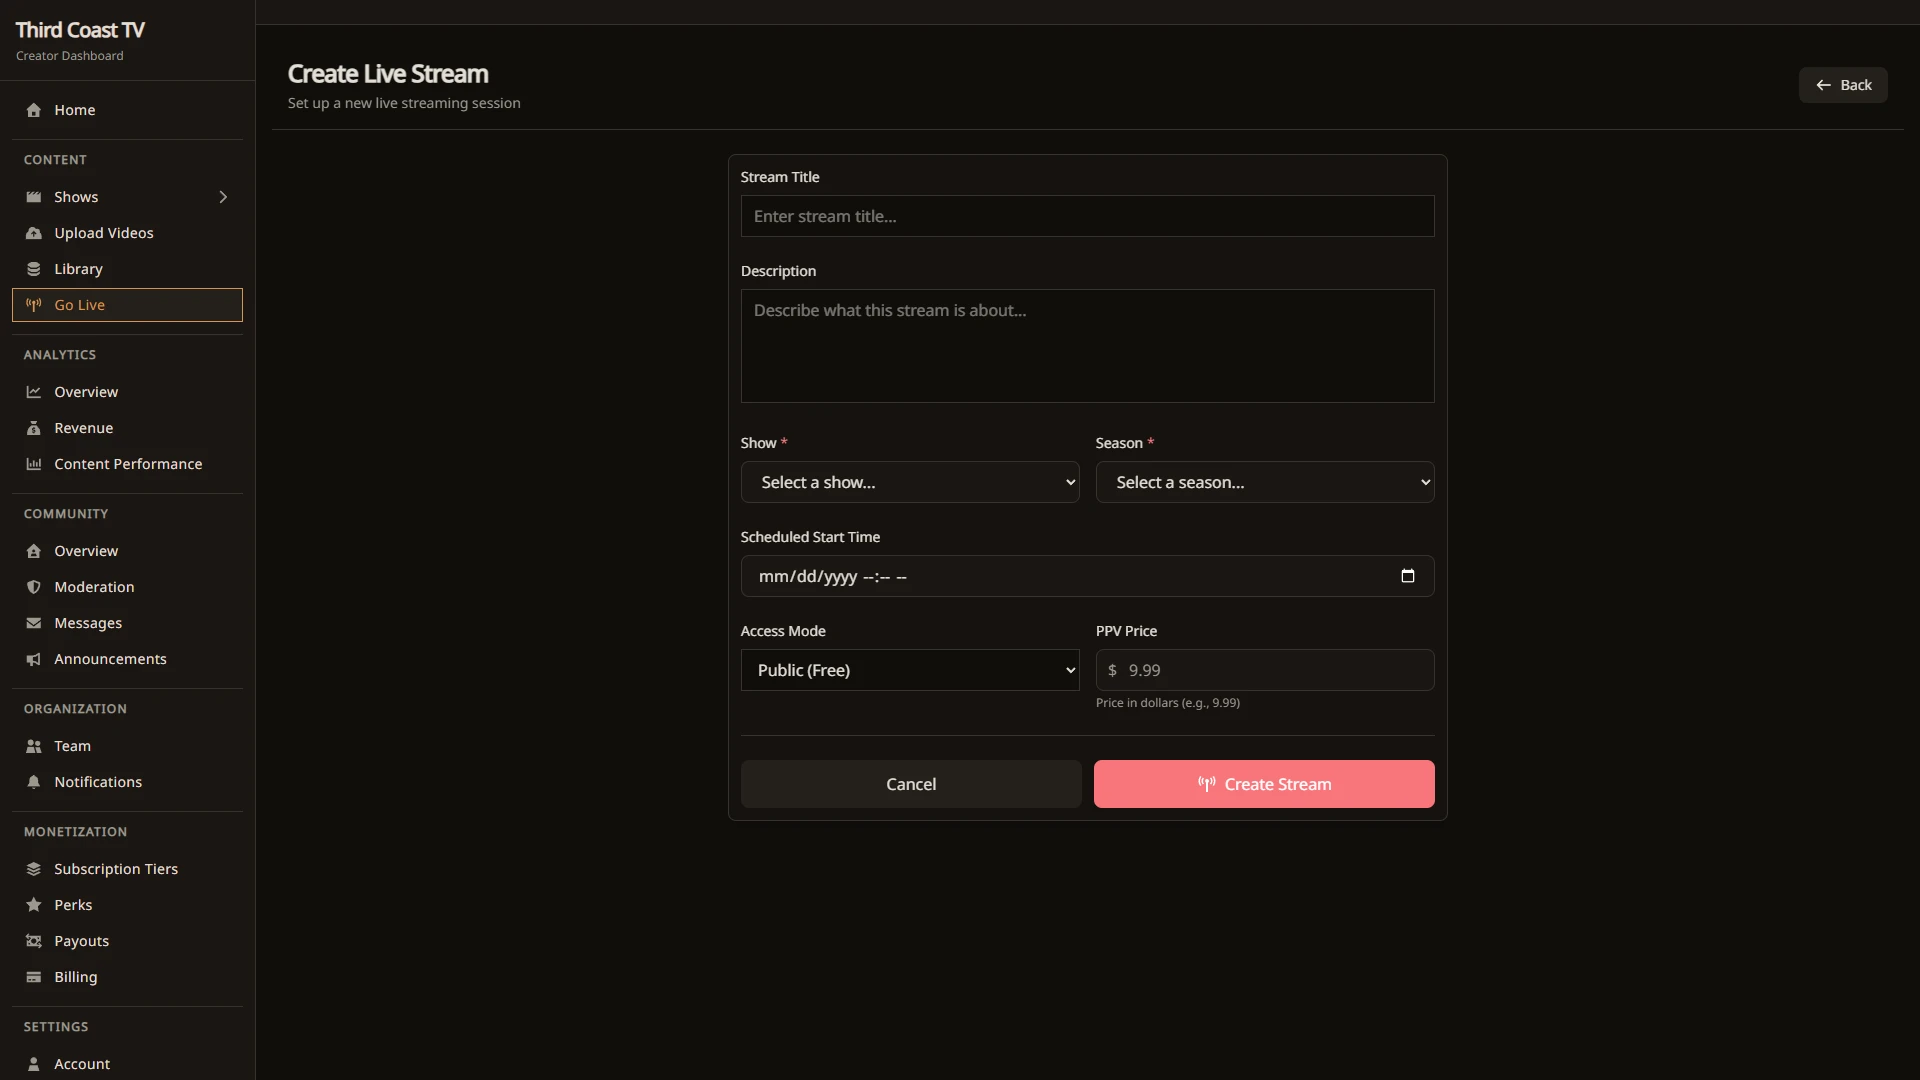
- Optionally create an episode for the broadcast ahead of time so viewers know what to expect. For live episodes you can set a scheduled start time.
- Start streaming in your software using your stream key.
- Your broadcast goes live and is linked to its episode.
- When you stop streaming, the recording is saved and becomes the episode’s video.
If a stream drops and you reconnect within a short window, the broadcast continues as part of the same episode rather than starting a new one.
Restreaming to other platforms
You can broadcast to other platforms at the same time as Third Coast TV. Open the simulcast options for your live episode and add destinations. Supported platforms include YouTube, Twitch, Facebook, Kick, and TikTok, plus a custom RTMP destination for anything else. Connect a platform once, then toggle it on for a given broadcast.
Who can watch a live stream
Live episodes use the same access modes as any other episode. Set the access for the episode you are broadcasting:
- Public for an open broadcast anyone can watch.
- Subscriber or Tier-gated to limit the stream to members.
- Perk-gated to limit it to holders of a specific perk.
- Purchase or Purchase or subscriber to sell access to the broadcast and its recording.
See Managing Your Shows and Episodes for how each mode works, and Pricing Your Content for setting up tiers and perks.
During your broadcast
From the dashboard you can keep an eye on the stream and engage your audience:
- Stream health. Indicators show whether your connection is stable. If they turn red, reduce your bitrate or resolution in your streaming software.
- Viewer count. See how many people are watching.
- Live chat. Read and reply to chat, and moderate it in real time. See Live Chat.
- Polls. Run live polls to involve your audience. See Polls.
After your broadcast
When you stop streaming:
- The recording is processed into your episode automatically. This usually takes a few minutes.
- You can edit the episode’s title, description, thumbnail, tags, rating, and access.
- If the episode was a draft, it stays private until you publish it.
For more on recordings and the video library, see Uploading and Managing Video.
Troubleshooting
Cannot connect:
- Confirm the server URL begins with
rtmps://and the stream key is copied in full. - Check that a firewall or VPN is not blocking the connection.
Dropped frames or buffering:
- Lower your bitrate, then your resolution.
- Switch to a wired connection.
- Close other applications using your upload bandwidth.
Chat not appearing:
- Refresh the episode page.
- Confirm the episode is published if you expect viewers to see it.